Have you tried using music to teach? How did it go? If you are looking for a better way to engage your students this back-to-school season while still maintaining control of your classroom, then be sure to remember these 5 important steps when using music to teach in your special education classroom.
Remember when you were a kid, and School House Rock would come on? I still remember the basics of how a bill becomes a law thanks to that catchy tune.
With technology today, it is even easier to add music either with or without video to many of your lessons. And, if you teach in a special education setting this is not only a powerful tool for increasing engagement and recall, but it can be a great tool for minimizing problematic behaviors.
Let’s look at some best practices when it comes to using music to teach in a special education setting.
Then be sure to download the list at the end of this post that has over 175 links to songs on YouTube organized by topic to use in your own classroom!!
1. Plan to play the song as soon as most students are sitting at the table.
I always found it challenging to get everyone settled for a group lesson after gathering from different places and activities in the room. I would start the song as soon as most or all of the students were seated.
This had three main advantages. First, it encouraged the stragglers to hurry up and get to the table. All of my students LOVED the songs, and no one wanted to miss them. Second, it gave them a couple of minutes to get those wiggles out and settle their bodies. Third, it gave me time to make sure I had everything I needed for the lesson ready to go.
So, playing the song as the actual first activity in my lesson was a constant. As soon as the song was over, we would jump into the book and then the activities. This consistency was so incredibly helpful and was such a reinforcing way to start the lesson.
2. When using music to teach, use manipulatives if you can.
If I could easily come up with some sort of manipulative for the students to use WITH the song, then it was even better. For example, when we sang our alphabet song, every student had a simple ABC chart. They would point to each letter as we sang. Either I or my assistant would be modeling this behavior for them.
In math, when we did the money song, I printed off pictures of the money for them to point to. So, here is the thing if you have not already figured it out. Don’t make the manipulatives too distracting. Using real or play money would have been way too overstimulating when combined with the music. I know, I tried it. For almost all the songs, I had a simple “song board” I could use.
Sometimes, the manipulatives were our hands. We would do certain hand movements if called for in the song. And then, sometimes, I just didn’t have anything, and it still worked just fine.
3. Use age-appropriate music
You all know this is a soap box of mine. Does that mean you cannot sing in middle or high school? NO!!! Look at this video about the Reconstruction:
I think that is pretty cool for older kids. Plus, if you choose to just play the music without the video (which is how I chose to do it) then it is even easier to find things appropriate for older students.
Music transcends all ages, so there is a lot of leeway here for sure. Just do the best you can.
4. Be mindful of the tempo you choose.
When using music to teach, I found that some songs just ended up winding my kids up way too much. It takes a little while to dial in exactly what you can and cannot use with your students, but it won’t take long for you to identify what not to use.
5. Technology to use.
Well, things have changed A LOT since I was in the classroom as far as technology. I was limited to an actual CD player and CDs when using music to teach. Luckily, being in an elementary school, I begged and borrowed tons of CDs from the regular ed teachers. Today, I would choose a totally different route.
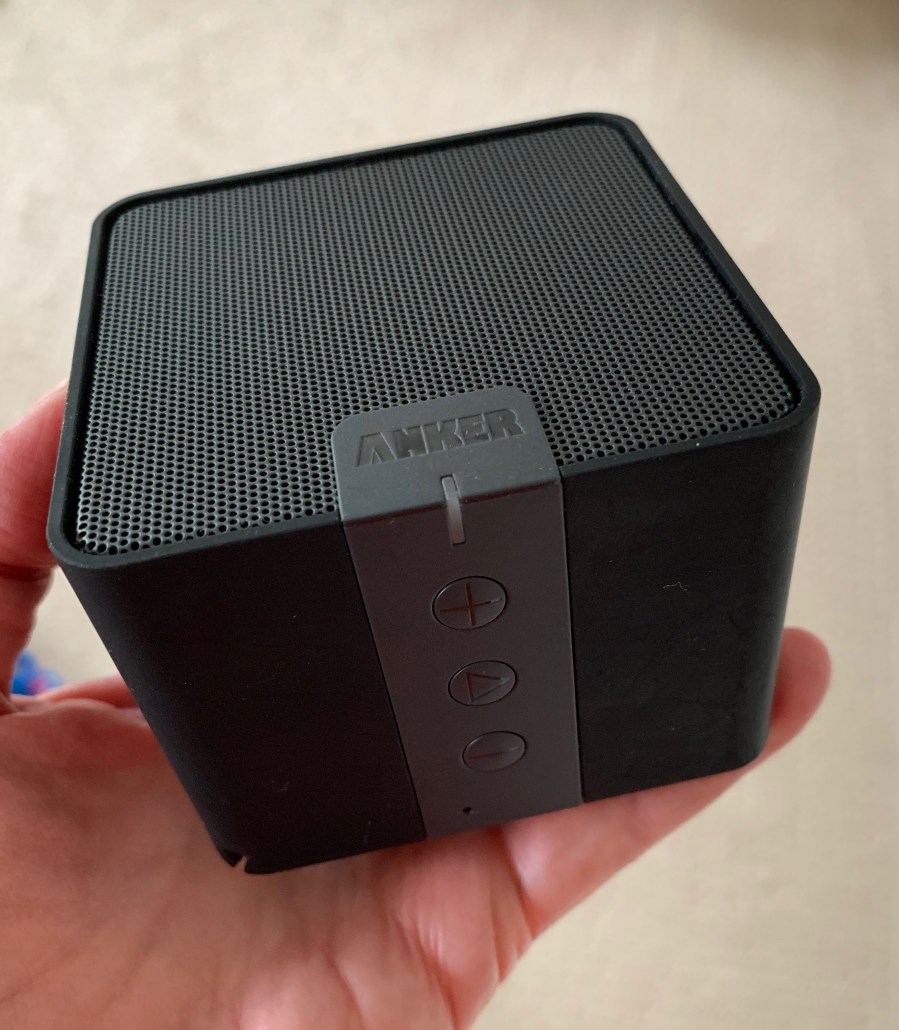
If you have a smartphone, I would consider investing in a small portable speaker that would connect via Bluetooth. This is the one I use at home and it was inexpensive on Amazon.

That way you can connect right to YouTube from your phone and play the song. Again, using the video component of the song is not always necessary, and in some cases can be too distracting.
So, what should you NOT do?
The biggest mistake I made, and saw others make when it came to music, was trying to use it as a cue that it was time to transition.
In other words, the students would all be doing different things in different locations, and you go up to the CD player and hit “play.” The idea is the music starts and all the students go to check their schedules and move on to the next activity.
Ugh, this NEVER worked for me. Inevitably, there would be dancing all around the room and craziness. I needed to have them sitting BEFORE starting the music.
The other problem was not making your expectations simple and clear.
You need to teach this strategy for it to really work. That means lots of practice with consistent clear procedures.
For example, you need to decide what you will do if a student decides to get up and dance at that table. Oh yeah, that happened in the beginning, A LOT!!
You could use a visual cue card to sit down. If that does not work, simply try turning off the music until the student is sitting back down.
You will have to play with this a little and come up with a strategy that can be consistent and effective.
Just remember, this is not like a magic wand. As with any strategy it takes time and teaching. But once they understand, it can be one of the most effective classroom management strategies in your toolbox.
To get you started, I spent hours on YouTube looking for some appropriate songs that would go with many common subjects taught in Math, ELA, Science, and Social Studies.
I have assembled over 175 links in this spreadsheet that will serve as an awesome quick reference. Download it for free by clicking the button below.


2 Comments
Comments are closed.