Teaching different types of figurative language can be challenging in a special education setting. Many of our students will not have the background knowledge to understand many of these sayings, let alone even identify them. But don’t let that stop you. Let me walk you through a step-by-step lesson plan for teaching different types of figurative language, even to students who may still be non-readers.
First things first
Before jumping into the lesson plan, let’s make sure we all agree on one thing. With students who struggle with reading and comprehension, we want to teach the different types of figurative language explicitly and in isolation.
This is why following a step-by-step lesson plan can be helpful. Eventually, the goal will be that our students can identify these literary devices in their everyday reading and writing. But for now, we will give them a structured, supported way to learn.
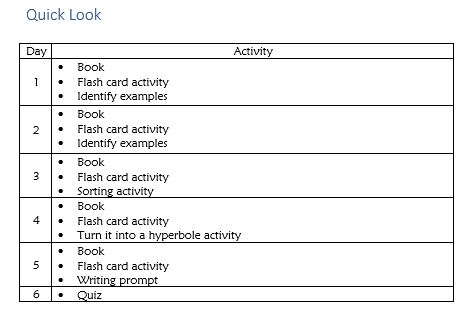
Finally, I like to spend 5-10 days on each different type of figurative language. Each day is set up the same; I vary the activities. That way, students get a lot of practice in a format that is familiar and comfortable to them. Each lesson will last 30-40 minutes.
Here is a quick look at how a week-long lesson would be laid out. Below, I will go through a typical daily lesson in detail.
Activity 1: Explaining the specific type of figurative language
Once you have chosen the type of figurative language you want to teach, it is time to build that foundational knowledge your students will need to identify it and use it in their own writing. For the most part, we need to assume our students have no idea what an idiom, simile, or metaphor is. We start at ground zero.
There are several ways to teach this information, which will likely be new to our students. If you have more advanced students, you may be able to leverage the general education textbook or material. Pulling out just the part on the type of figurative language you are teaching is possible. You will want to start the lesson EVERY DAY with that information.
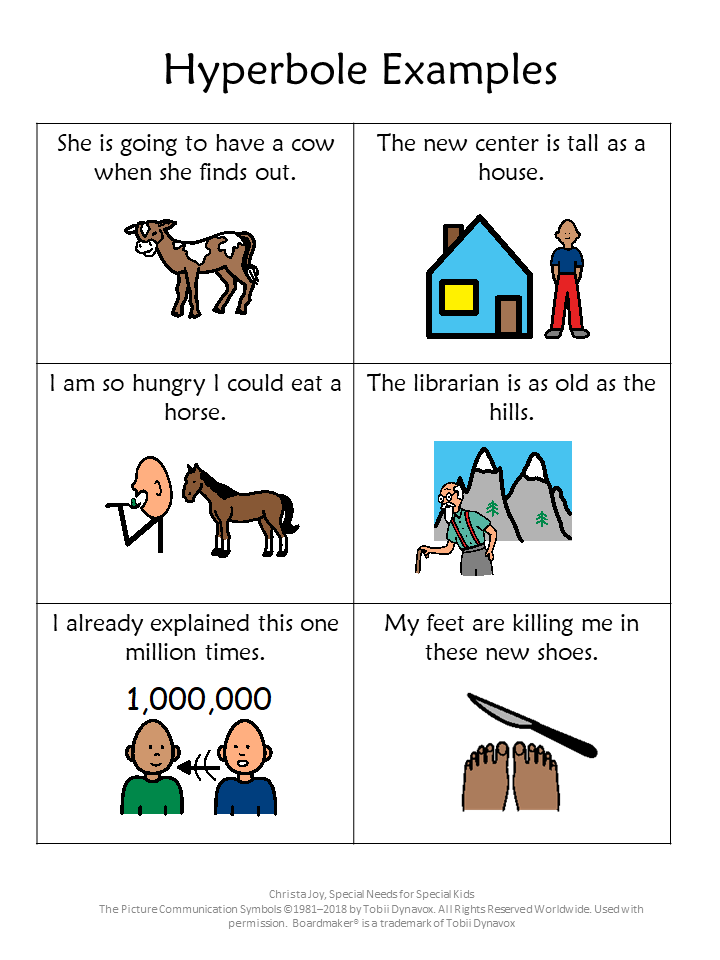
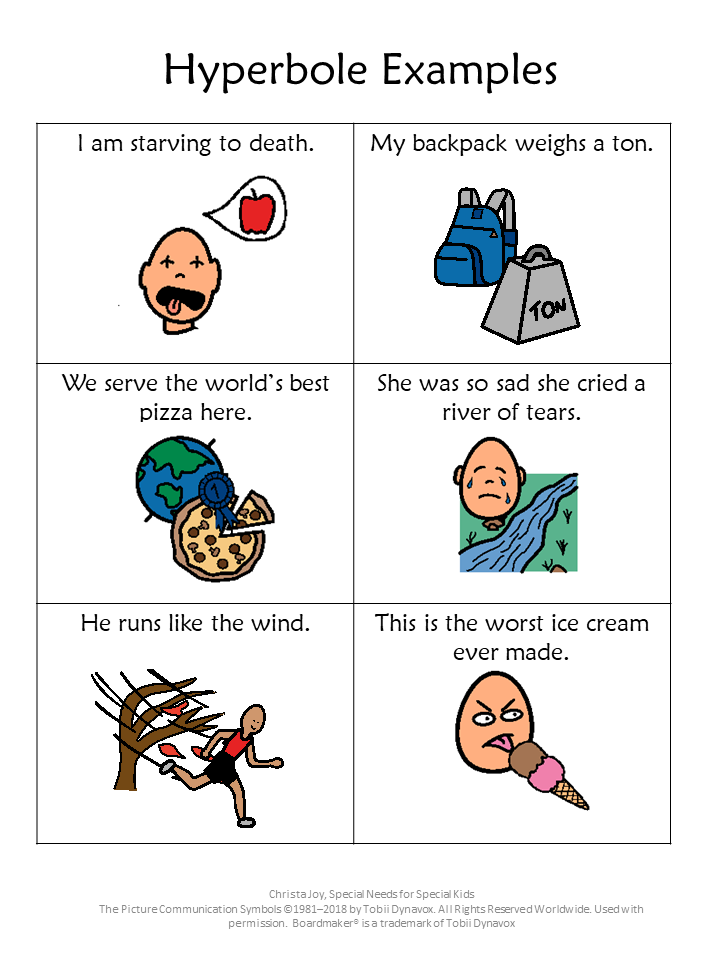
If you have students like I did who were very early or even non-readers, you should consider writing your own short informational story to start each daily lesson. Using PowerPoint to write your own book is super easy and very effective. Here is mine on hyperbole.
The other option (and very popular with students) is to use video. YouTube has so many great videos on the different types of figurative language. I would recommend checking out this blog post, 5 BEST Videos for Teaching Figurative Language.
Activity 2: Group activities and practice
Now that you have students’ attention and everyone is settled, it is time to get them interacting with one another through movement. This does not mean they need to leave the teaching area or table (but that is possible). Just getting students to manipulate items with their hands is often enough to keep their attention.
Group activities are also a great way to generalize information taught in an explicit, isolated way. Can they successfully identify different types of figurative language while playing a game?
I found flashcards work best for this activity. You will likely want to laminate these for durability.

After printing these onto cardstock, I would recommend writing the type of figurative language on the back. This will help as you build your supply of flashcards while teaching the different types of figurative language.
Here are some group activities you can do with flashcards for different types of figurative language:
- Have students sort them into categories describing a person, place, or thing.
- Sort them into those they like and those they do not.
- Make 2 sets and use them as a matching task.
- Make 2 sets and use them as a game of concentration.
- If you have other figurative language units, sort by type of figurative language.
- Place them around the room and do a scavenger hunt.
Activity 3: A quick review
I started adding this activity when I realized students were having a hard time recalling what we had done the day before. I found this 5-minute “look back” at what they had done the day before was incredibly helpful.
We would go over the cut-and-paste activity/worksheet we had previously done. It was even more powerful if they could review their own finished worksheet. However, that was not always possible, so I just made sure I always had a completed copy ready to go.
Activity 4: Individual practice with different types of figurative language
At this point in the lesson, students:
- Are focused on the current topic
- Had a chance to move and/or interact with their peers
- Reviewed previous work to activate their prior knowledge
- Are primed to complete a cut-and-paste or digital activity
Before 2020, I would never have thought about using a digital format at this point in the lesson. Still, I learned that not only could manipulating a Google slide be a huge motivator for students, but, in some circumstances, it could be the only option. For that reason, I now always create digital versions of my printable activities. These make great independent work centers, or work for students who have trouble with traditional cut-and-paste activities.
I found my students did best with certain types of activities. I would always incorporate these, if possible, into all of my units. Plus, they were easy to differentiate for various learning levels, all sitting at the same table with me.
Here are some common worksheets you can use when teaching different types of figurative language:
- Circle map with all the characteristics and examples of that particular type of figurative language
- Sorting phrases that are and are not examples of that type of figurative language
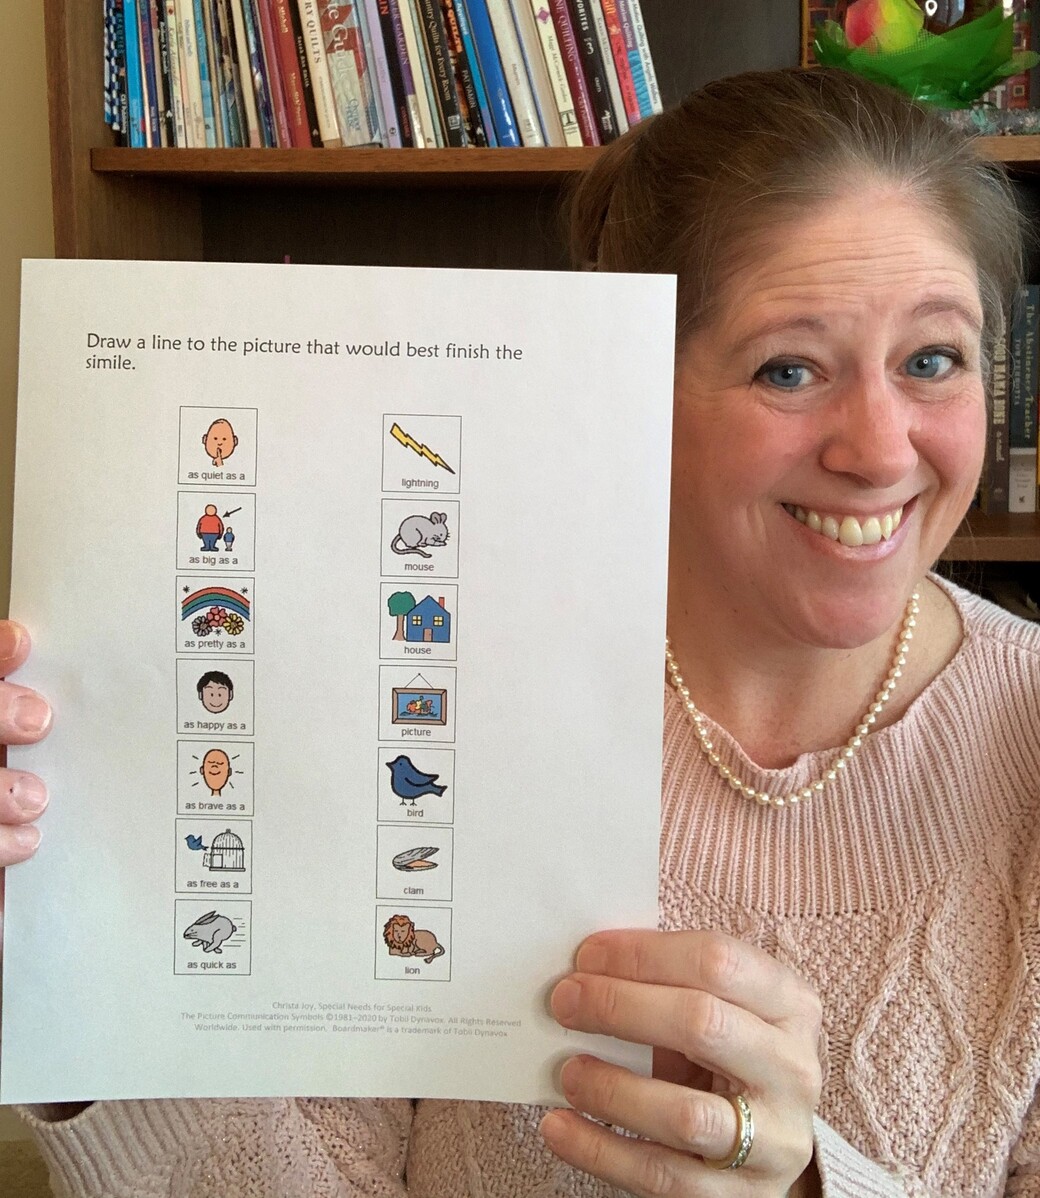
- Matching a picture that shows what the sentence containing figurative language really means (this is great for checking comprehension)
- Turning an ordinary phrase into one that contains figurative language (I set this up similar to a matching task, so students have more support than just writing one on their own. But you can easily differentiate this into a more challenging task by not providing the matches and letting students create their own.)
- Highlight or circle examples of figurative language in sentences. My students LOVED to use highlighters.
- Complete a writing prompt using figurative language. If you think there is no way your students can write a story, then I encourage you to check out this blog post, Writing Prompts for Kids Using Pictures. You can download a free writing prompt there, and get your kids writing their very own stories today (even using figurative language!!)
- On the last day, I will give a short quiz. One valuable tip…. also give this quiz BEFORE you start the unit. That way, you will be able to measure the growth each student has made. To read more about giving tests and quizzes, check out the blog post, Assessment in the Special Education Setting.
Click the button below to get this free worksheet on similes.
Activity 5: Sharing what you learned
I actually wrote an entire blog post about this particular activity, THE ONE ACTIVITY YOU SHOULD ADD TO YOUR SMALL GROUP LESSONS. Giving students a chance to share what they have learned in their own words, or via communication devices, is a powerful experience. Not only does it allow students to communicate more, but it also lets you gauge their comprehension. In addition, it provides you with more opportunities to work on those IEP goals.
I hope this helps you visualize how you could walk through a lesson teaching different types of figurative language. This format applies to almost any topic you want to teach. Having a standard flow of how your lesson progresses will not only save you time but also make your students more successful and less anxious.
If you are looking for ready-made materials to teach your students different types of figurative language, be sure to check out the units below. You will save with the bundle!!