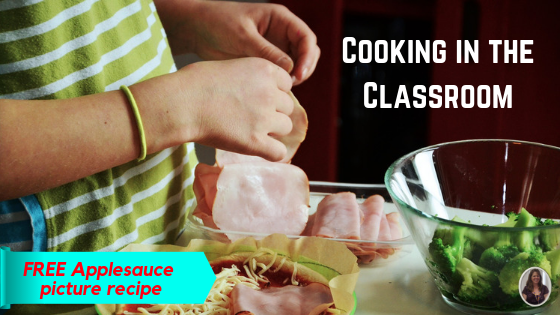
Full disclosure, I LOVE to cook. There is not much I enjoy more than working in the kitchen. So, I guess it is not surprising that I also LOVE cooking in the classroom with my students. And although it can get messy and takes a watchful eye and careful planning to keep it clean and safe for all involved, the kids loved it just as much as I did.
Setting a consistent cooking time and routine in the classroom
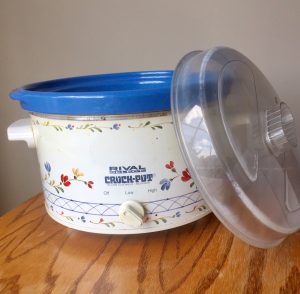
Every Friday, we would have “kitchen time.” I would have a visual recipe ready to go that usually accompanied something we were learning about. Early in the year, it almost always revolved around the letter of the week. I also liked to pull in seasonal and holiday themes. In the fall, we did LOTS of cooking in the classroom with apples. One of our favorite visual recipes was applesauce. I liked it because we did not need access to the stove or oven in the teacher’s lounge. We just used a crockpot, and that made it so easy.
And, you can get the recipe we used in the classroom for free at the end of this post!!
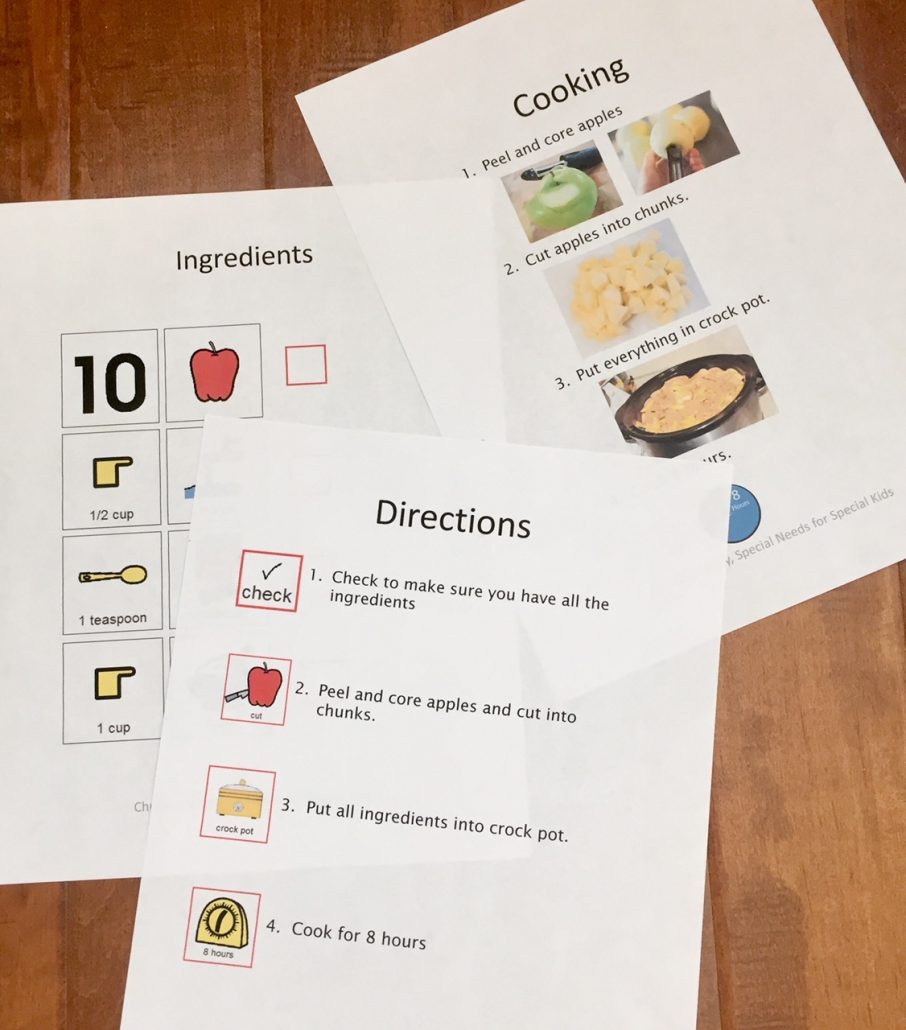
One of my goals when cooking in the classroom with my students was to make it as independent as possible for them. I had kids from ages 5 to 12, so there were a lot of ability levels to address if we were all cooking the same recipe. Most of my students could not read, but they were all great at following a picture schedule. I knew a picture or visual recipe would work well for all the students. But that meant some prep work for me. Eventually, I came up with a system that I tweaked over the years and worked well. Here is what we did. (Be sure to read to the end to get your FREE copy of my Applesauce visual recipe.)
Labeling and pre-measuring ingredients
First, I would print recipe labels to place on the ingredients themselves. These would match the picture symbols I used in the recipe.

Some of the ingredients were pre-measured, and some were left for the older students to measure out. This was especially helpful if we were working on measurement in math. Often, I had 2 piles of ingredients, some pre-measured and some not.
Here is a helpful tip: Place the pre-measured ingredients on one piece of colored poster board and the ingredients that need to be measured on a different piece of colored poster board. When you give each student or group their recipe, make sure it is mounted on construction paper of the same color. That way, students know exactly which set of ingredients they need to be using.
Creating visual recipes
Next, each student or group got a recipe depending on their learning level. I often had 2-3 versions of the same recipe being used at the same time.
Potential modifications
- Use a visual recipe with only words and a checkbox. This is great for your students who are readers.
- Use a visual recipe with pictures and symbols added to the words. This is where most of my students’ skills were. They were able to figure out some of the words when supported with picture symbols. These were also symbols that my students were very familiar with, so their comfort level was an important stepping stone to success.
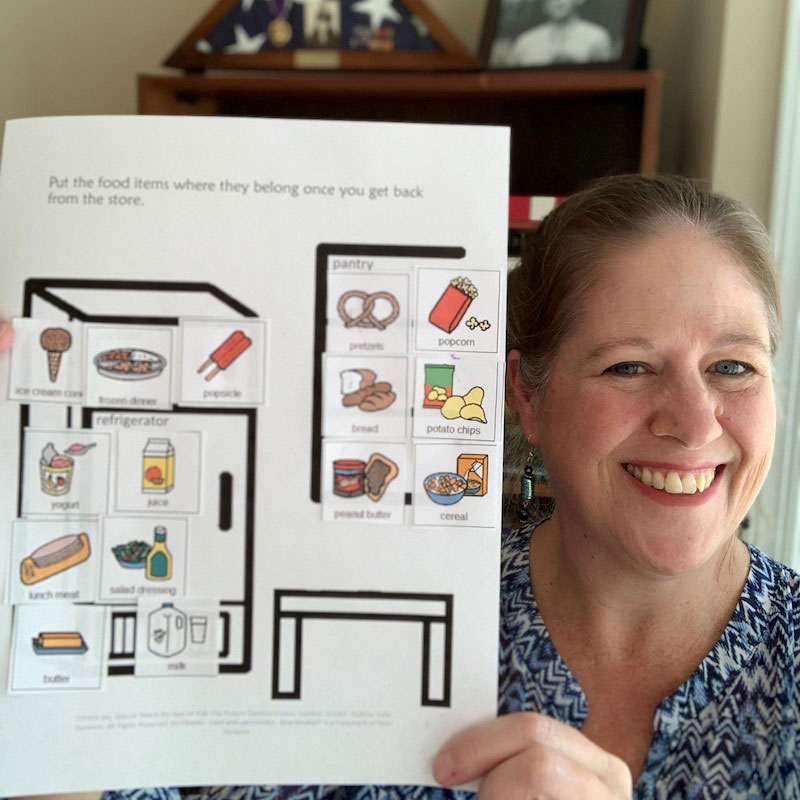
- Use a visual recipe with actual photos. Sometimes, students are just not ready for picture symbols. They are unable to make that connection from the symbol to the actual object. For this group of students, I found inserting some actual photos of the ingredients, tools, and steps greatly increased their independence when cooking in the classroom.
Helpful tip: For students who are visually overwhelmed, cut each step apart and mount it on a piece of construction paper. Then, be sure to number the strips. That way, the student needs to only look at one step of the visual recipe at a time.
Assigning roles
It was critical that each student clearly understood what their particular role or job was when it came time to follow the recipe. At the beginning of the year, we would spend time discussing the various jobs needed when cooking in the classroom. Every Friday, we would pull out our poster with the various jobs and assign them to students in each group. As a reminder, each student would tape a photo of themselves next to the description of the job they had for that week.
Here were the most common assignments we used:
- Students who would find and gather all the right ingredients.
- Those in charge of reading out the directions and checking off the steps once completed.
- Some did the actual measuring. If they were in a group with pre-measured ingredients, then that student’s job was to double-check that the amount was correct according to their recipe.
- Some were in charge of using the equipment, like a peeler, a knife, a cutting board, or a blender.
Cleaning up
Once the cooking was finished, we were sure to clean up the area and wash any dishes. Many of my students had certain IEP goals that were easily addressed during this time. Stacking dishes, rinsing dishes, wiping counters, and putting items back where they belonged were very common goals we would practice and take data on while cooking in the classroom. And, because I knew this would be a regular part of my classroom routine, I often encouraged parents to include these early life skills when we were writing the IEP.
Tasting and eating
When the food was ready, it was time to feast and enjoy. Of course, I had A LOT of students with food sensory issues, and not everyone wanted to eat what we had made, but that was okay. Even when working with foods that were not very popular (like broccoli), it was rarely an issue. Students were often absorbed in the cooking process, and they knew I would never force them to eat anything.
Another helpful tip: Setting the table is a great way for students to practice 1:1 correspondence in a real-life setting.
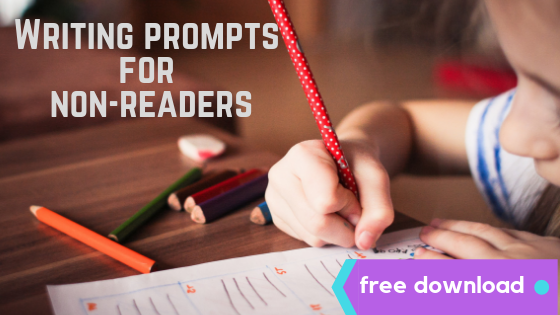
As the last step, we often completed a writing prompt. I have a blog post all about how to do this successfully. Head over after this and read Writing Prompts for Non-Readers. They loved to talk about how something tasted or felt in their mouth and on their tongue. So many great adjectives we could pull in to describe our scrumptious meal.
Cooking in the classroom is such a great way to work on a variety of skills, some academic and some more life-related. If you have not tried it, I encourage you to do so. With a small amount of prep-work and a consistent routine, you will build skills that will last a lifetime.
Want to try it? Click on the button below to get a FREE copy of my Applesauce Recipe.
Want to try even more? Check out my Cooking Through the Alphabet Unit, which has 26 different recipes (one for every letter of the alphabet). Just click on the image below. Finally, if you have bought any of my units, you know I love to sneak these recipes into my novel units, my other literacy units, science units, and even some of my social studies units. There is no better way to connect with a region than through its food. Wouldn’t you agree?!?


2 Comments
Comments are closed.